Hello there! Do you wanna set up a web server like me, on a Raspberry Pi? If you want, here is how!
1. Intro
| Item | Purpose | Image |
|---|---|---|
| Raspberry Pi | Serves as the server itself |  |
| SD or microSD (depending on which Raspberry Pi you have) | The storage solution | 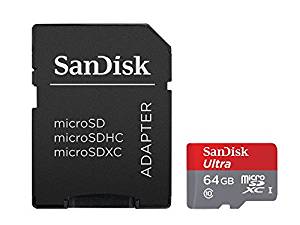 |
| Micro USB (or USB-C for RPi 4) charger | Serves as the power source | 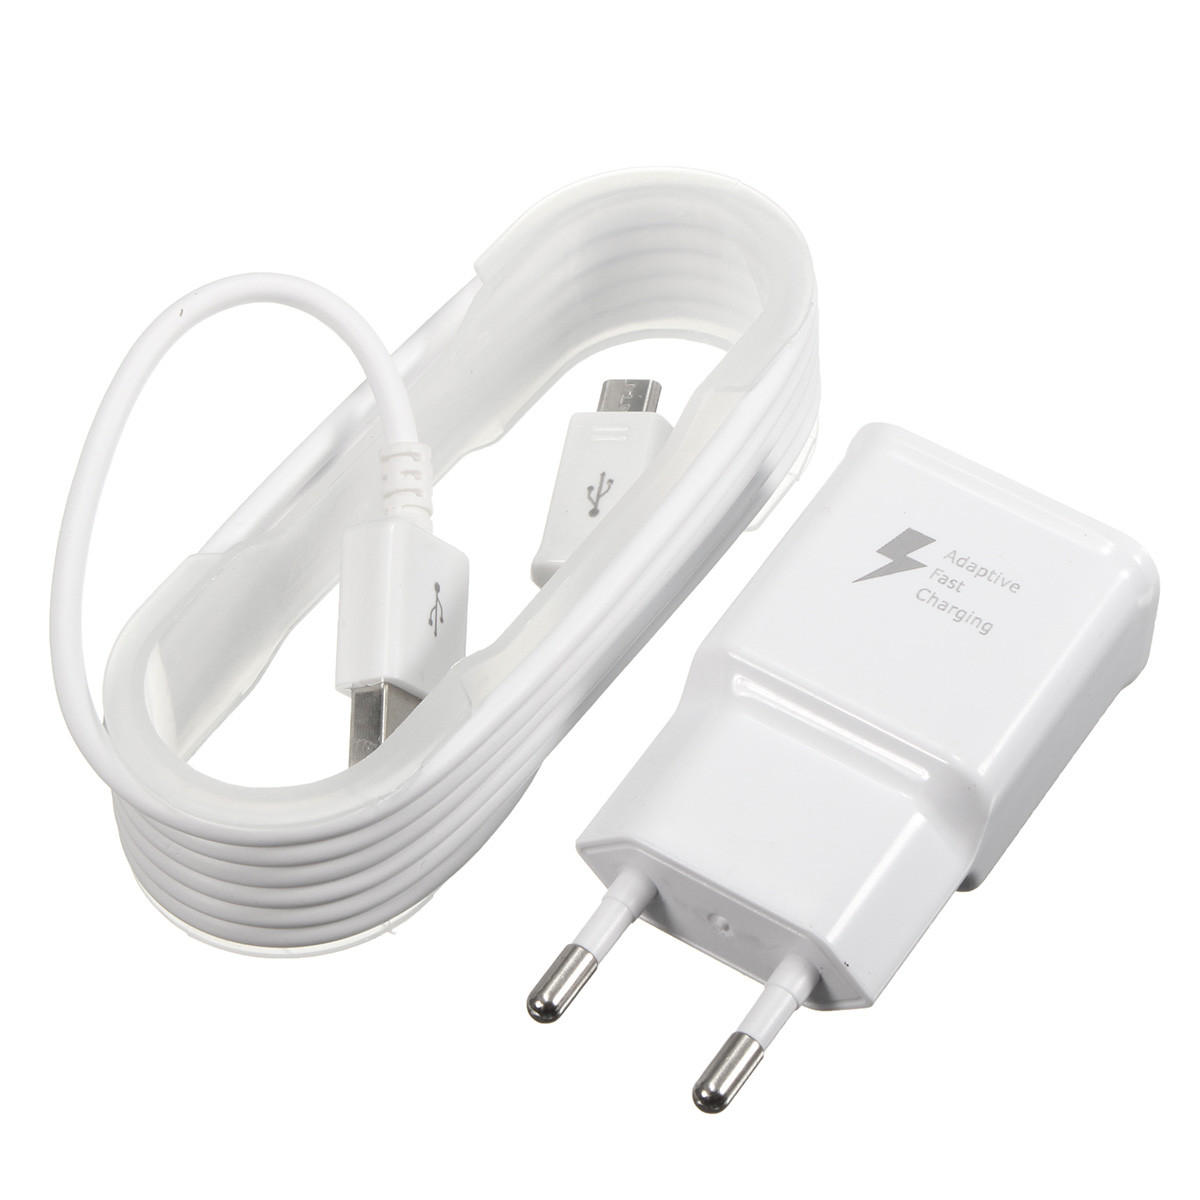 |
| HDMI or micro-HDMI (or Composite if the Raspberry Pi supports it) cable + screen | Display video |  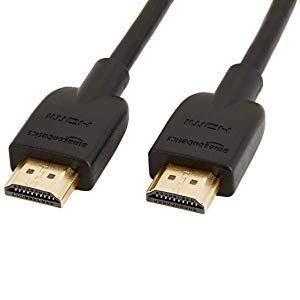 |
| Network Cable | Networking. You can use the Wi-Fi of the Raspberry Pi 3 and 4 instead. | 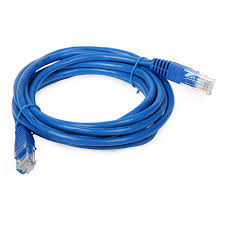 |
| Item | Purpose | Image |
This section might be outdated as the Raspberry Pi 4 has now been released.
2. Install NOOBS on SD
Maybe you already installed Raspbian. If so, skip to Part 4.
Now it's time to set up your Raspberry Pi. Click here to get the latest NOOBS.
When you have downloaded NOOBS, I want you to download a program that can flash .zip to a disk. I'd recommend using balenaEtcher for this job.
Start your .zip-flasher and select image. Now you want to insert your SD card, either by external or internal reader. Pick the new drive in the application. Press the flash button.
When you´ve done that, insert the (micro)SD card in your Raspberry. Connect HDMI/Composite, network cable, and, at last, the charger.
This section might be outdated as the Raspberry Pi 4 has now been released.
3. Install "Raspbian"
A menu should show up. In the list, pick Raspbian (recommended) and follow instructions. I´ve been unable to test NOOBS, so my instructions can be a little bit unclear.
When Raspbian boots, open Terminal and type:
sudo raspi-configand press Enter. Select SSH and pick Enable/Yes. Exit from the menu.
4. Install web server
In Terminal, type:
sudo apt install apache2 mysql-server mysql-client php php-mysql libapache2-mod-php -yThis will install Apache Web Server 2, MariaDB/MySQL and PHP. Now type:
sudo /usr/bin/mysql_secure_installationand follow the instructions. To finally enable the server, type:
sudo systemctl enable apache2.service
sudo systemctl enable mysql.service
You're done there! /var/www/html/ is the root of your web server. Add your web pages there!
5. Port Forwarding
Follow this guide to port forward. You will forward port 80. Get your routers public IP address (for example mine is 78.108.50.45, DNS wiktoreriksson.se).
Go to http://YOUR_IP_ADDR/ in your browser. This will, hopefully, return your webpage! Now you can get a domain and register the IP to it!
Good luck with designing your webpage!
Comments
Posted Comments
comments